Cocktail Set
While socially distancing in 2020, I dreamed of when we could once again gather and share good drinks with friends. With this aspiration in mind, I decided to create a cocktail set in preparation for that day…
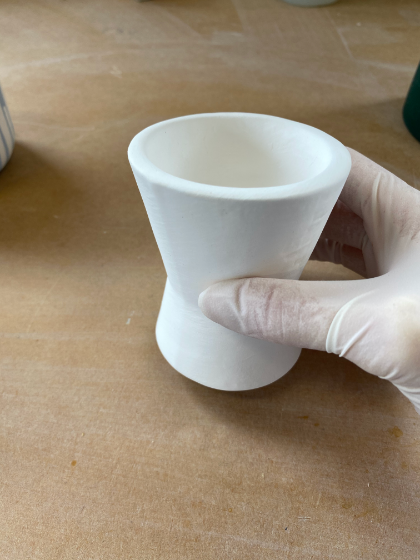
The first piece I wanted to tackle was a jigger because I knew it would create all sorts of interesting technical challenges. I had never tried making a plaster mold with more than three parts and knew that a jigger would necessitate at least that, probably more. Jiggers are meant to measure ingredients so the finished object needed to be more precise than I normally work in clay. Additionally, porcelain as a material has a high shrink rate and can have a tendency to warp which would also affect the accuracy and volume. I sketched a few minimal designs and settled on a pretty classic form to experiment with. I modeled the positive in Fusion 360 and 3D print it so that I would start with precise dimensions so that, fingers crossed, me back of the napkin geometry calculation would give me a 1 ounce side and a 2 ounce side. I then painted the model with high-build primer and sanded a few times to fill the build lines in the model.
Admittedly, I jumped into the mold making without fully thinking through the demolding process for this piece. The first mold I made had four parts, bottom, top, and two sides. The sequence was to pour, then to remove the bottom first, then the sides so I could cut the spares (extra clay from where clay is poured the mold) off and free the final molded piece. I soon discovered this didn’t work. The interior pieces needed to be removed relatively quickly to avoid the jigger from shrinking around the inner cups and tearing. All the casts either got stuck and tore when I removed them from the mold and finding the timing where the piece was dry enough to support its weight but also not have shrunk too much around the inner cup mold was impossible with the first design.
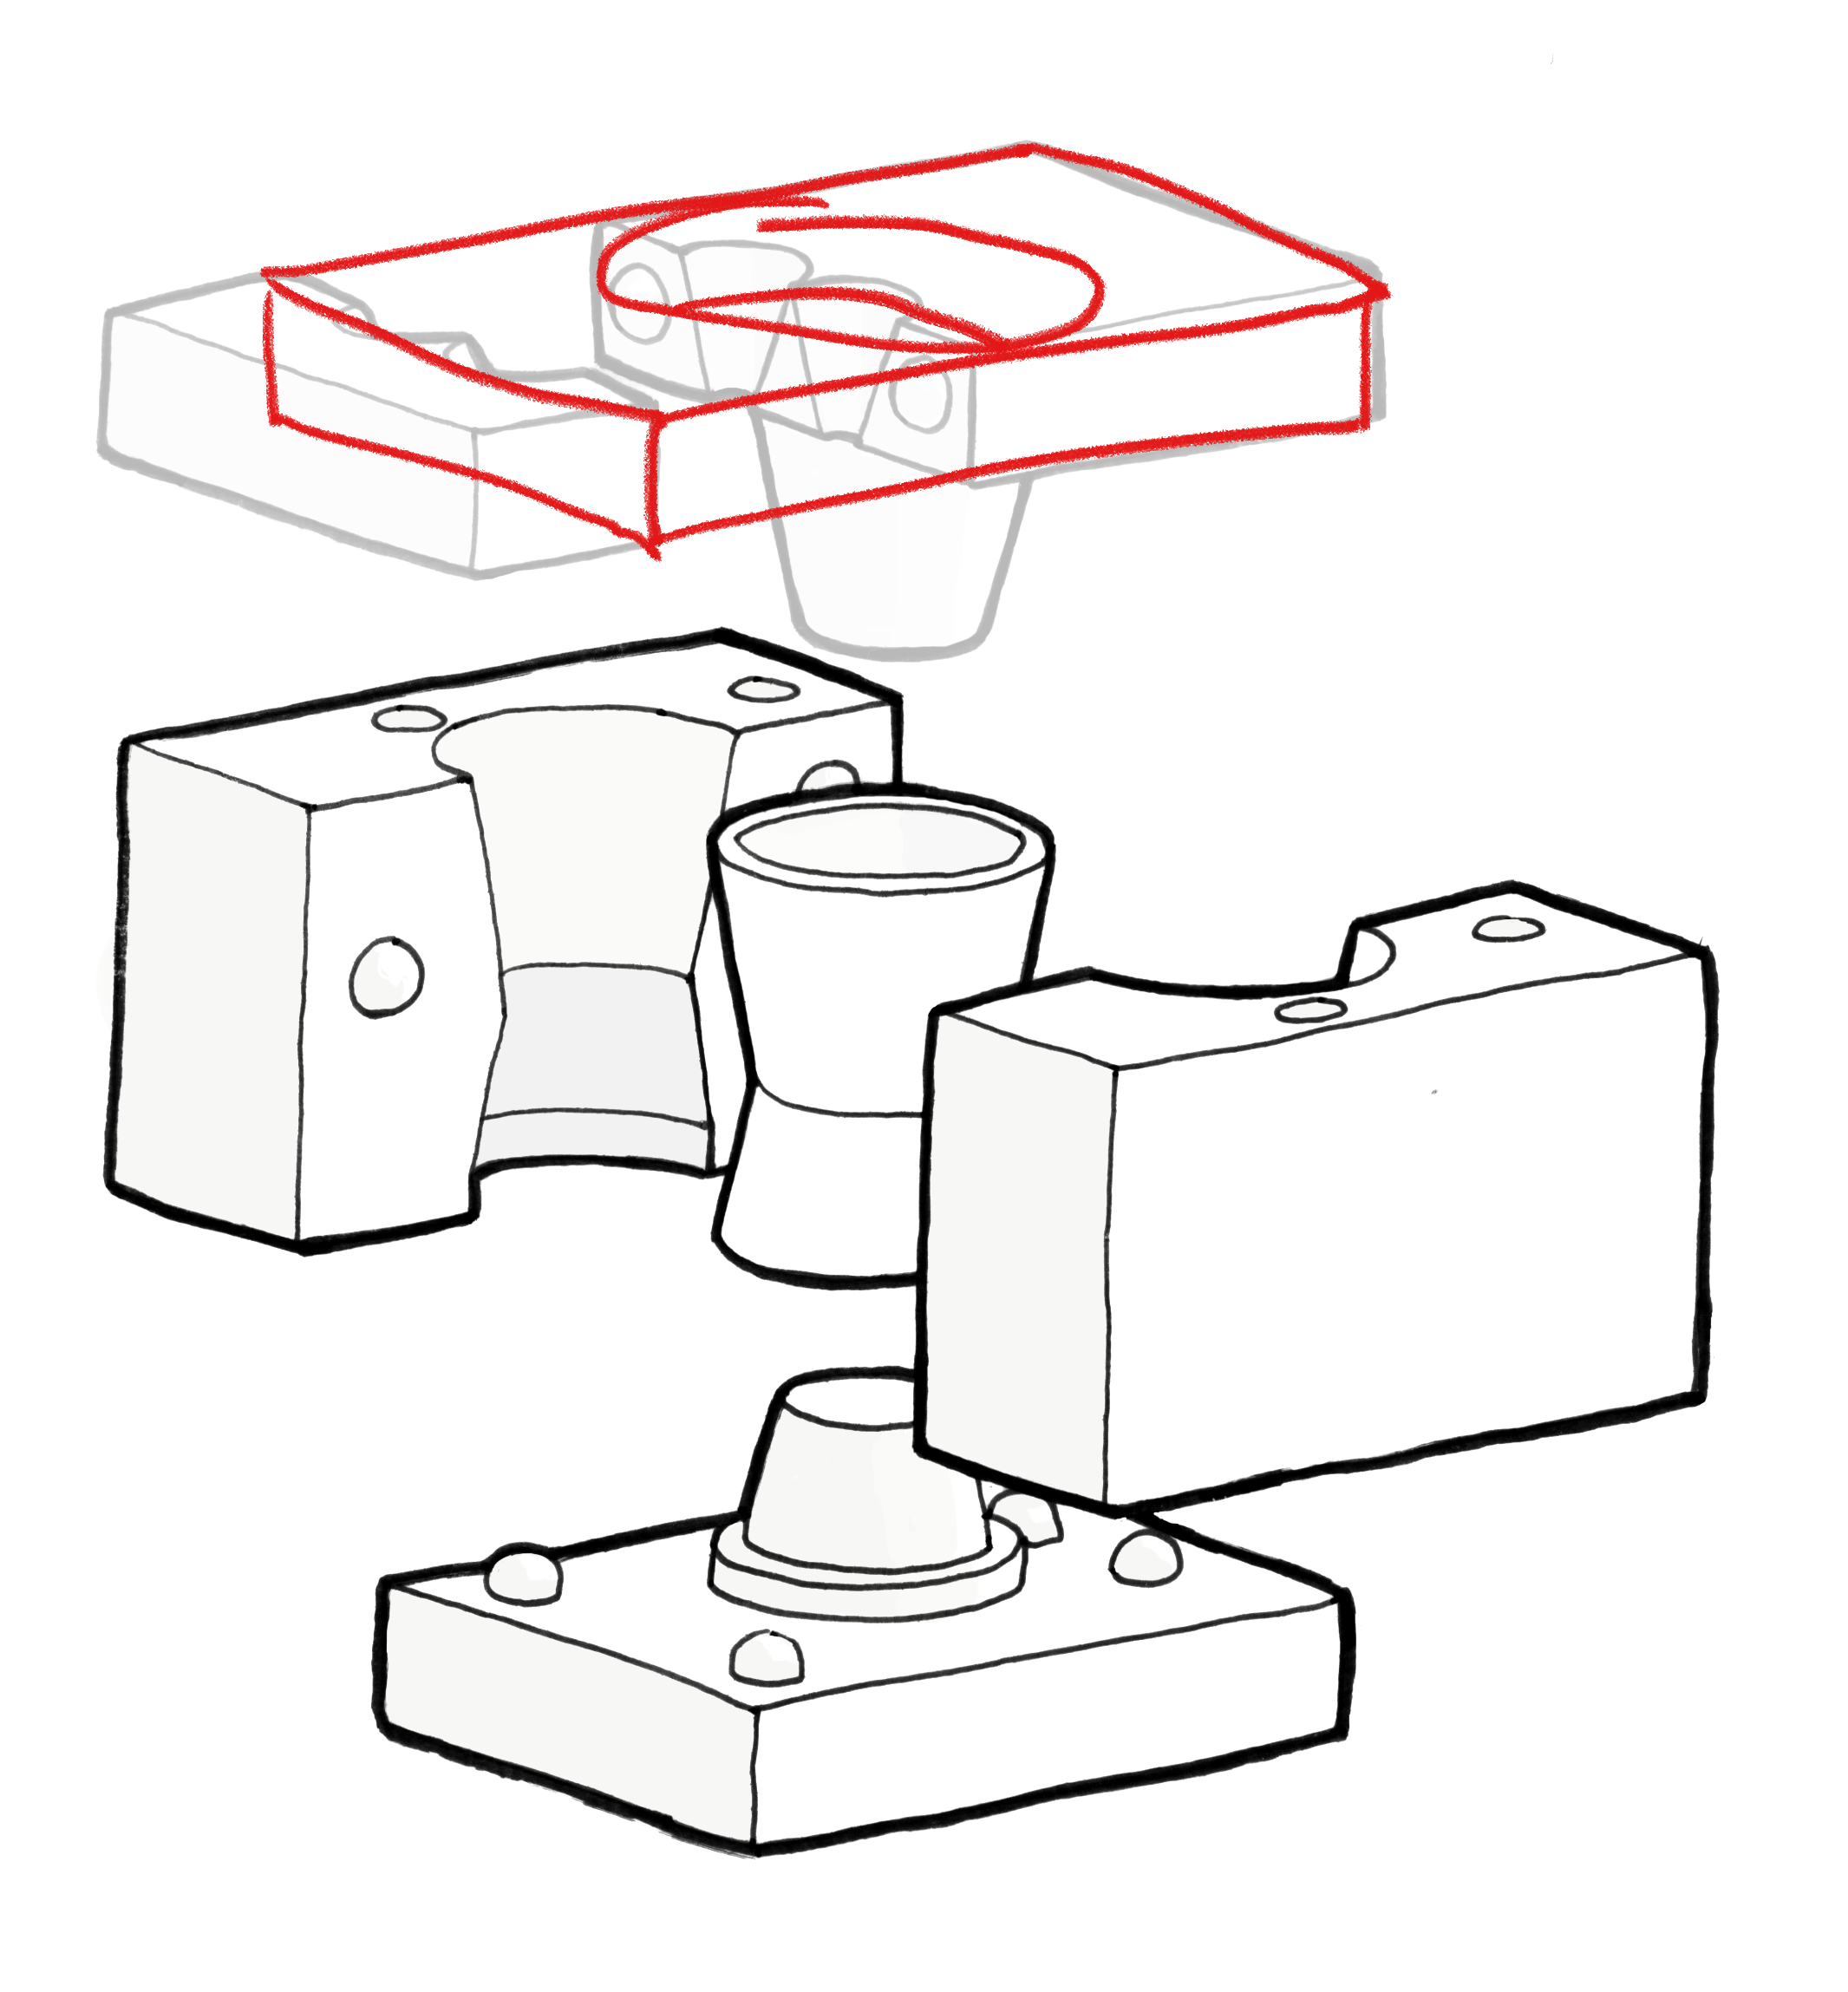
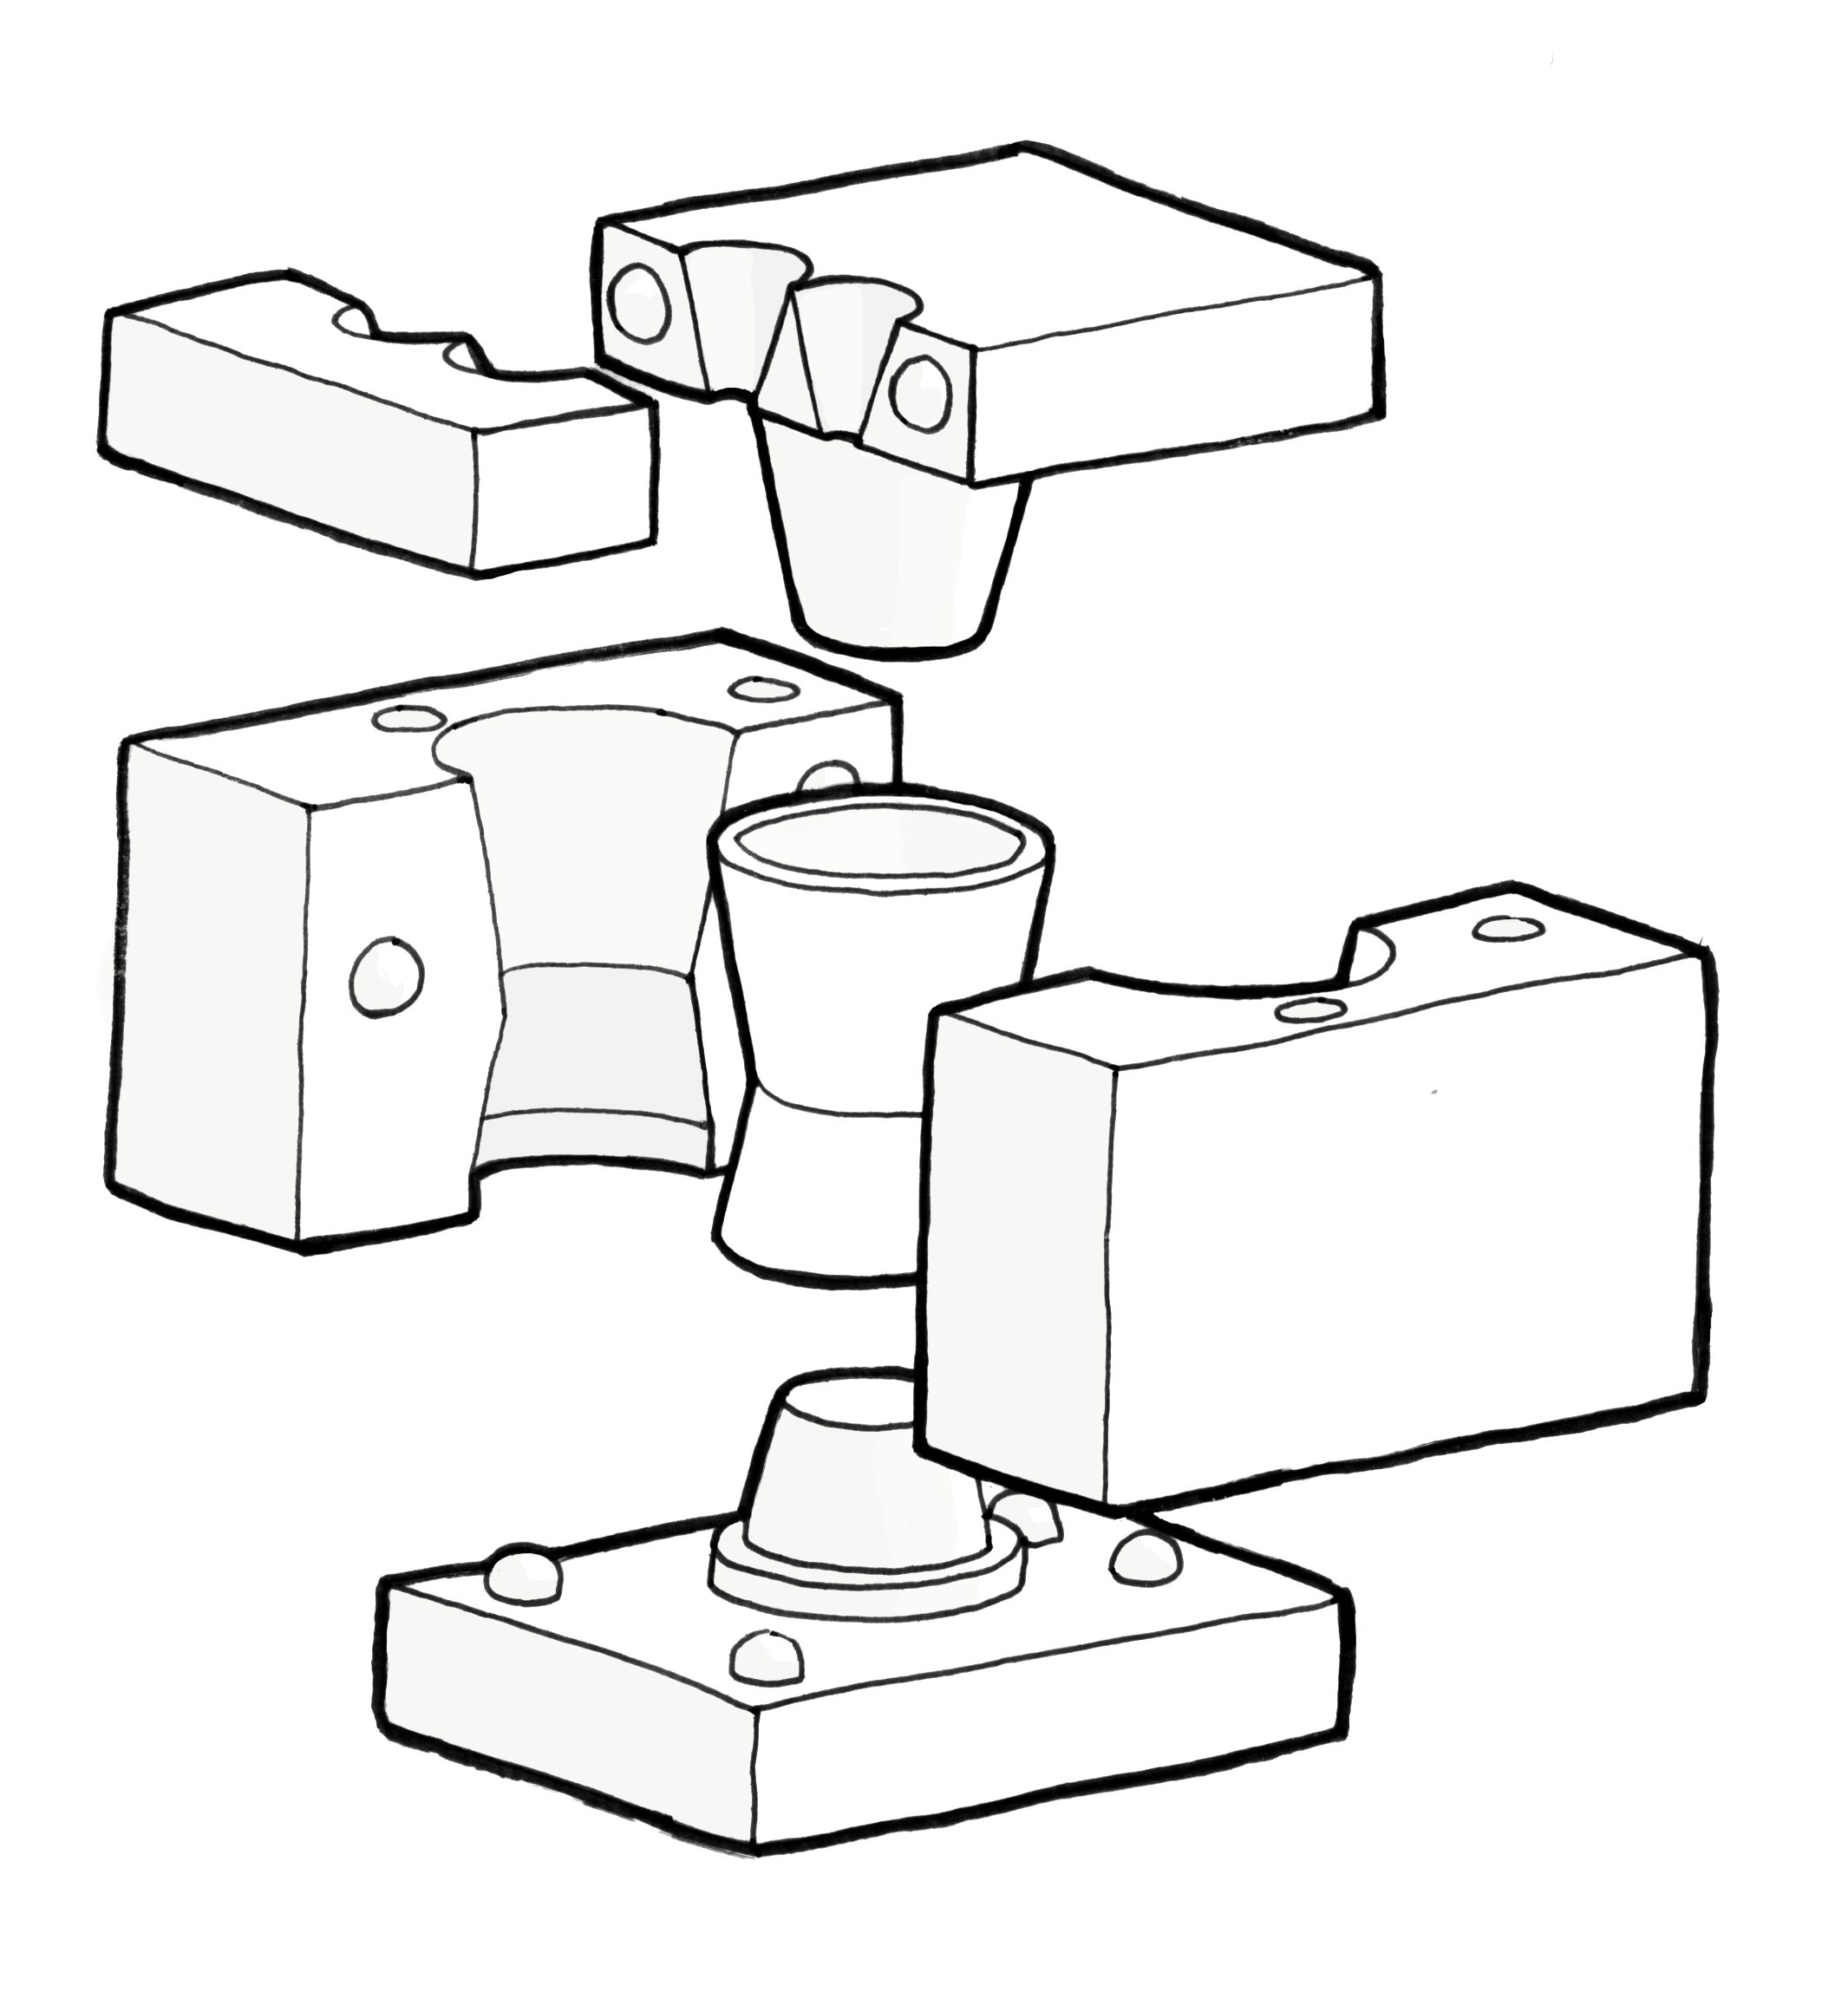
So I sat down to think through the demolding process thoroughly and came up with the drawing included, a five part mold. With this design I could remove the inner cups first and leave the sides to support the piece until it was dry enough to stand on its own.
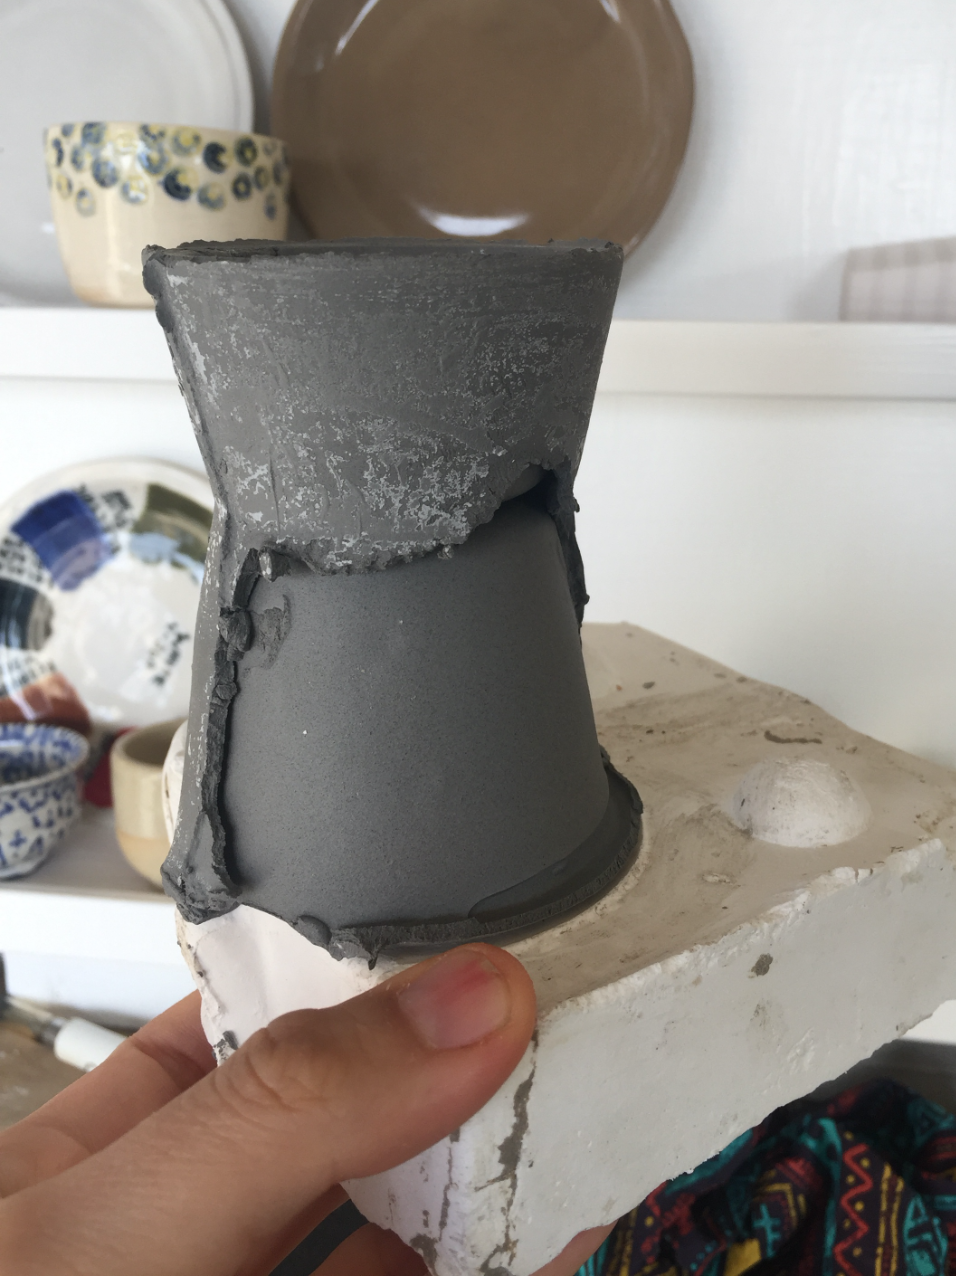
I was really hopeful about this version of the mold. The first pieces I pulled from the mold had odd tearing issues and appeared to be creating a double wall situation unintentionally, but I wrote this off to the mold seasoning and the problems lessened. I was pulling very reasonable looking casts and only some small pinholes that I thought could be worked out through better pouring and agitation.
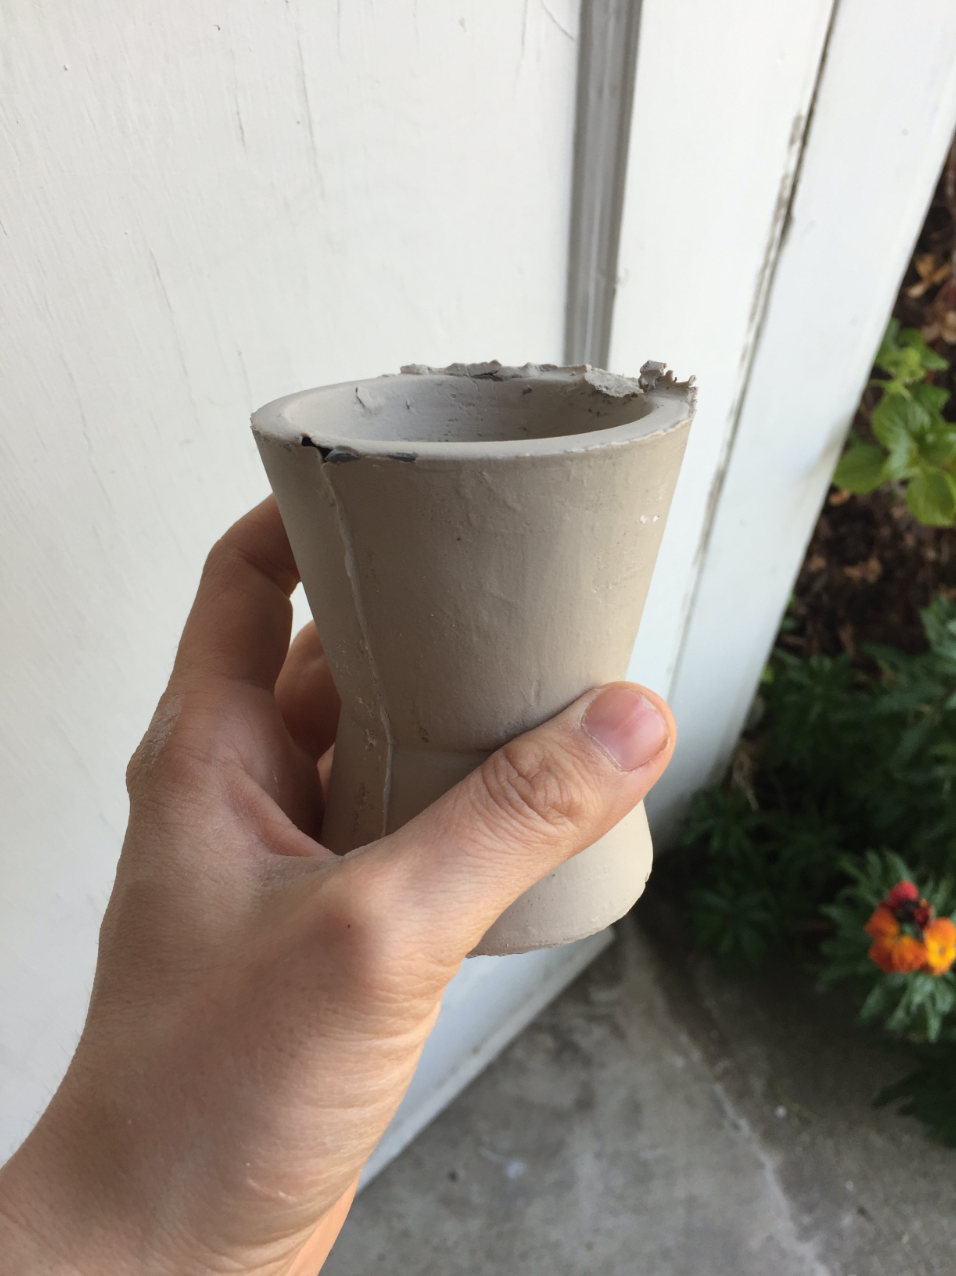
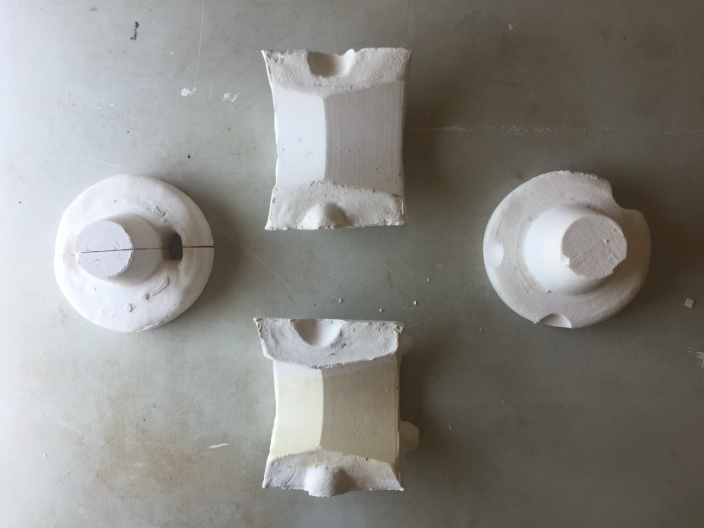
But… I couldn’t. Time after time I pulled pieces that looked solid and nice, but after slicing them in half I would find bubbles in the clay body. Bubbles aren’t great in clay because the trapped air expands as the kiln heats and causes blow outs. The problem seems to be that while the wall thicknesses are all equal, the vertex where the three walls meets is actually thicker. The mold pulls enough moisture that it closes off the middle section from pulling more slip.
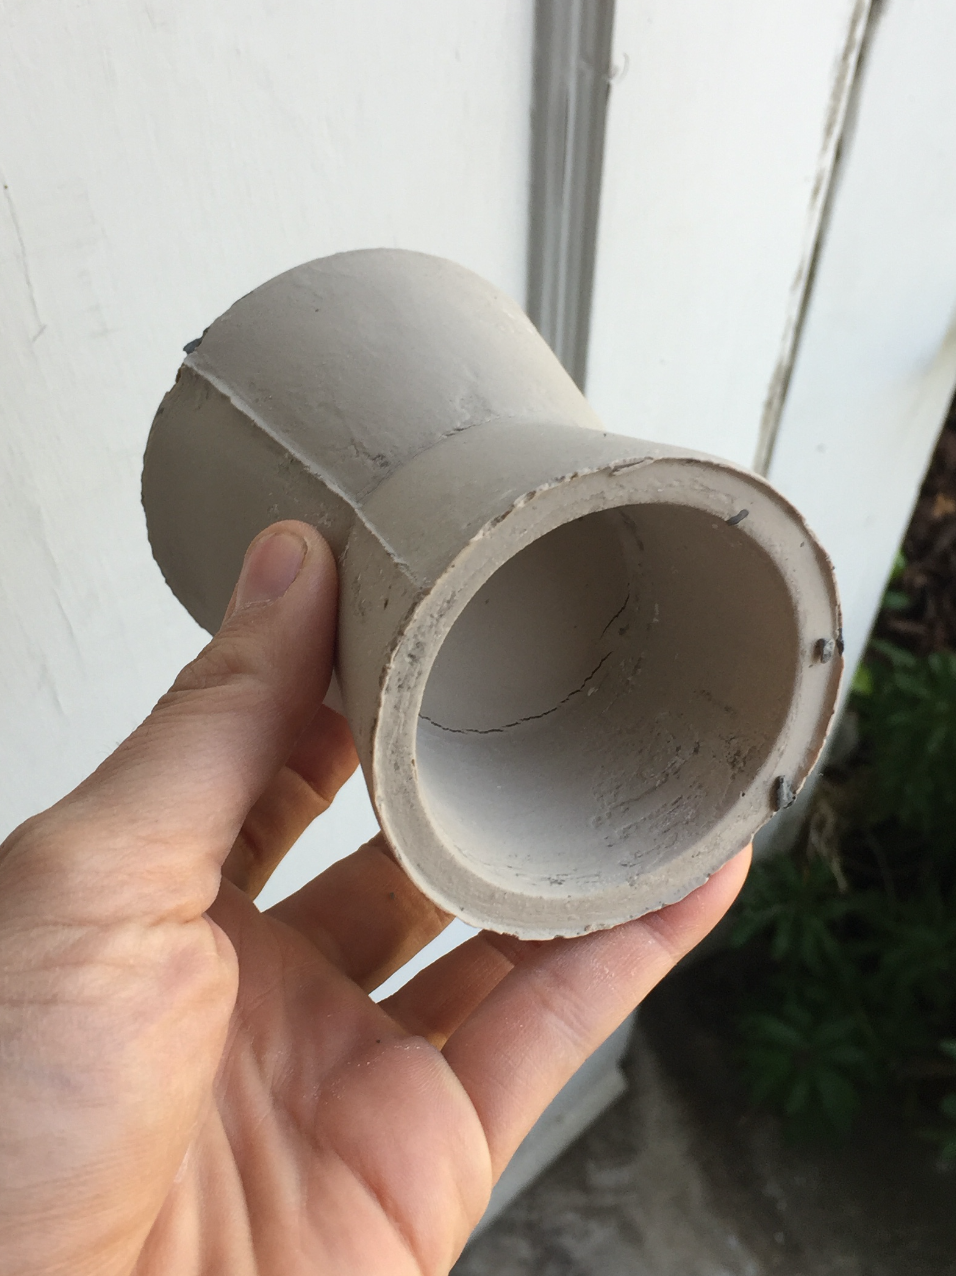
At this point I decided that it would be worth trying to modify this mold to work as a kind of hybrid mold, casting the bottom as solid, but leaving the top open. It might take attentive mold watching to get the top cup wall thickness to match the solid cast bottom, but I would only need to pour one new piece.This change was more successful than expected and after a few timing experiments, I found that ~50 minutes seems to get even results. This is where the jigger is at, off getting cooked.